 |
| My classroom set up for the beginning of the school year. |
Hello everyone! Many of you may have already started school and many are looking forward to starting in a week or so. I can't wait to get back into the swing of things. We had our meet the teacher/camp carnival evening last week and it really made me realize how much I miss my students. This is the first year one of my own children will NOT be returning to school. My eldest graduated in June and has secured a full time job. It is wonderful to see what an amazing young man he has become but also strange to be the mother of an adult. My youngest son returns to his last year of high school. He will be attending a culinary program full time for his senior year. In many ways I think this kind of program is similar to what he might have gotten in a Montessori high school.
I haven't been on the blog for a while but wanted to give a little review of the 21 Day Classroom Setup Bootcamp in which I participated for three weeks this summer. You can find my other blog posts about this 'camp' here, here and here. The bootcamp was created by Seemi Abdullah from Trillium Montessori. Seemi is a great Montessori resource and a wonderful person. I was able to meet her at the American Montessori Society conference in Philadelphia this year.
So what did I think about the bootcamp? Wow. I'm not sure how to keep all of my thoughts to one blog post but I will try. The bootcamp encompassed so many aspects of classroom setup it's hard to relay. I have to admit I did not participate everyday nor with all of the assignments. I have a feeling it was that way for most of the participants. I think what I'll report on were the items I found most helpful.
First, I did appreciate the organizational component of the course. Sometimes there are things we know are important but aren't as fun as material making or setting up shelves and we relegate them to the end of our list when they need to be at the beginning. Things like the teacher and assistant manual, parent relations plan and record keeping. It was good to get some organization in those areas and clean off my shelf full of papers at the same time!
The thing I found most helpful was shelf mapping and the floor plan. My co-teacher and I spent a huge amount of time working out the floor plan of the classroom last summer. I took over from another teacher in the middle of the previous year and was not happy with the floor plan (just personal opinion, nothing against the previous teacher). After living with it for a year we remained happy with the setup. Of course, it isn't perfect but it is as perfect as can be with the shelves and tables we have.
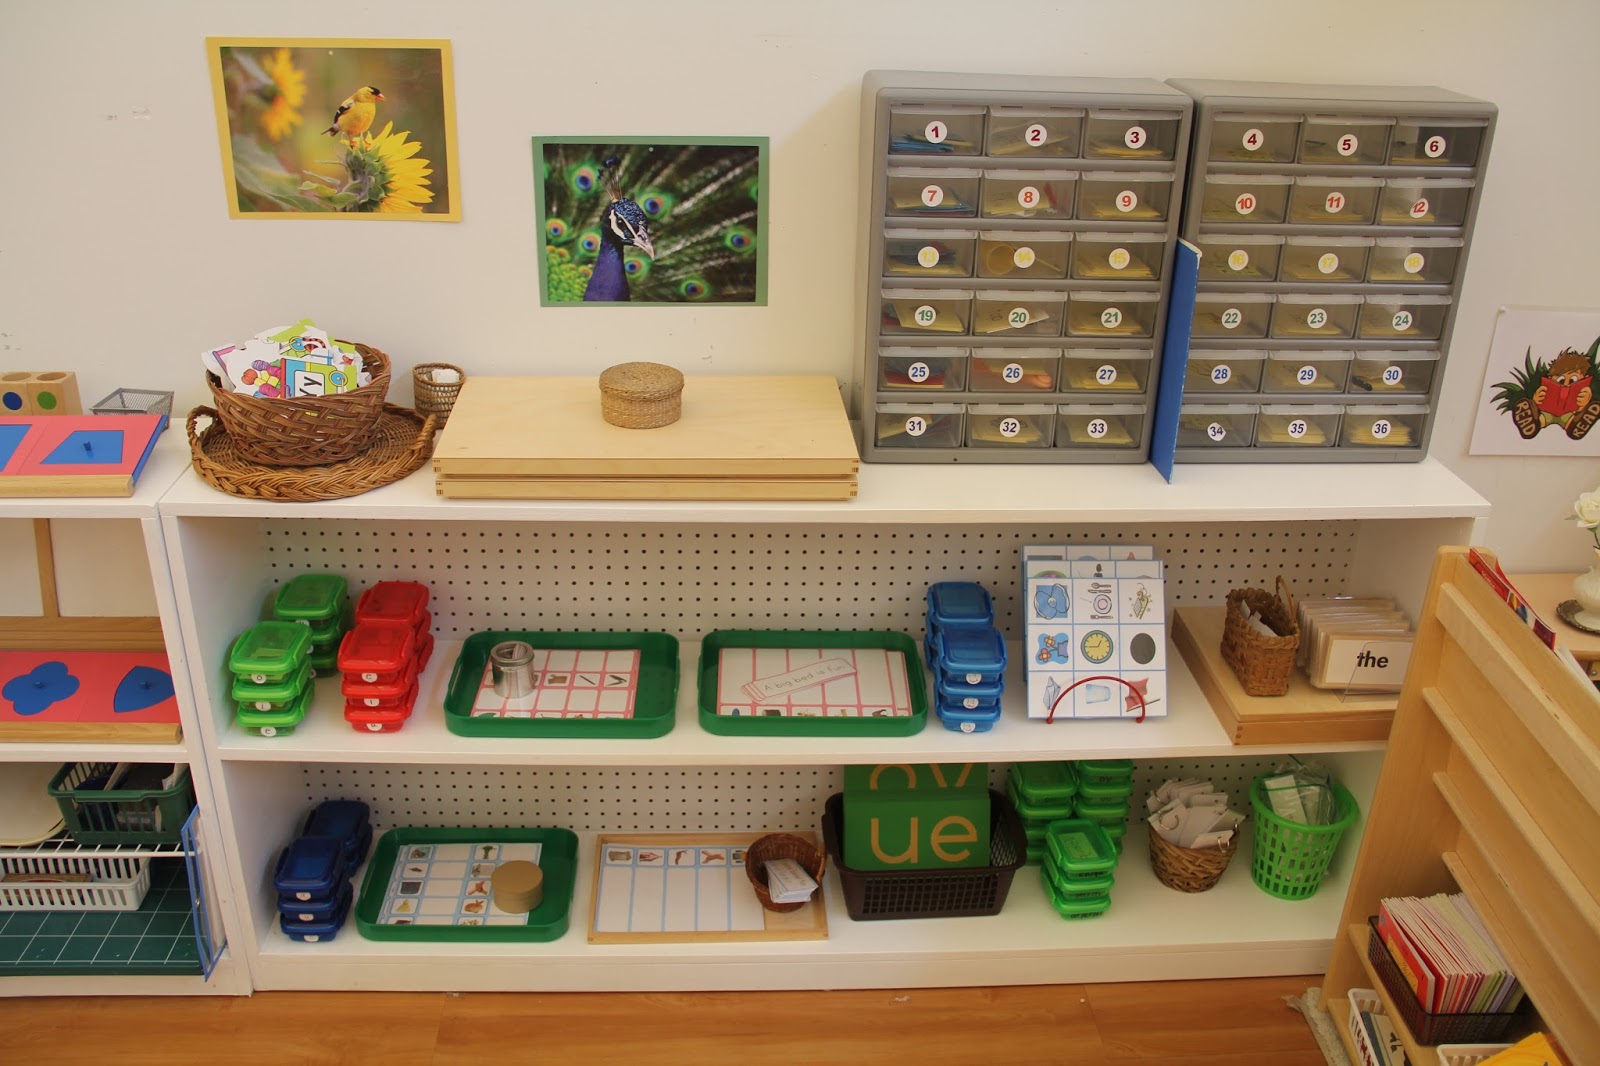
Learning how to shelf map was definitely the most rewarding learning I've done in a LONG time. I wrote a blog post about it so I won't go into detail but I thought I'd post some before and after photos to show how I've changed things to make them more in line with the progression of materials and developmental needs of the child. I'm showing only two areas of the classroom: Practical Life and Language. These were the two areas that I changed the most and with which I was most unhappy in years past.
 |
| Practical Life art and sewing before the shelf map. |
 |
| Practical Life art shelf after the shelf map |
In the two photos above you can see how I changed the art shelf. Excuse the fact that the materials are incomplete. I won't have markers, crayons, pencils, etc. until the first week of school. One big change I made in practical life was to add more sewing to my shelves. I also combined my wet and dry fine motor shelf. I have found that there is much less misuse of the sewing materials than the fine motor materials in general and the children love the work and gain so much more concentration from it than most other practical life works. I don't know if this is because of some fault of mine with the pouring, scooping and tonging works (not giving proper lessons, etc.) but I'm giving this new set up a try this year and will reflect on it after we've been using it. The top shelf of art now includes plants and animals to care for.
 |
| fine and gross motor wet works before mapping |
 |
| care of environment shelf (sewing sequence and wet works) after mapping |
Above you can see how I changed things. By mapping the shelves, I was able to see that I should have things combined more by area (care of environment, art, fine motor, etc.) than I did in the past. I bought the book Sewing in the Montessori Classroom by Aimee Fagen and am using her sequence this year on our shelf. I highly recommend this resource. The sewing sequence for the beginning of the year is on the top two shelves and the care of environment wet works (table scrubbing, shell washing, plant care and glasses polishing) are on the bottom shelf.
 |
| fine motor shelf before mapping |
 |
| fine motor shelf after mapping |
Above is my fine motor shelf before and after. I now have things arranged in this way:


No comments:
Post a Comment